Showing posts with label flimsy. Show all posts

23 February, 2025

What Are You Working On?

Mom's been gone for over two months now. The new normal has settled around me. I miss her daily phone calls; she would always lead off our chats with "what are you working on?" I find myself talking to her sometimes, reporting on my latest projects. After her eyesight failed through advancing macular degeneration she couldn't sew anymore and, I believe, that she enjoyed just thinking about, and imagining, the quilts and other projects that were taking on life. Sew, in that context, here are my latest projects completed: shown left, "No Scrap Too Small" has been quilted and bound (those bitty scrap squares finish to 1 inch).
This cross stitch piece, stitching complete, will be turned into a pinkeep soon. 
Summer Sweets ~ Scattered Seed Samplers by Tammy Black
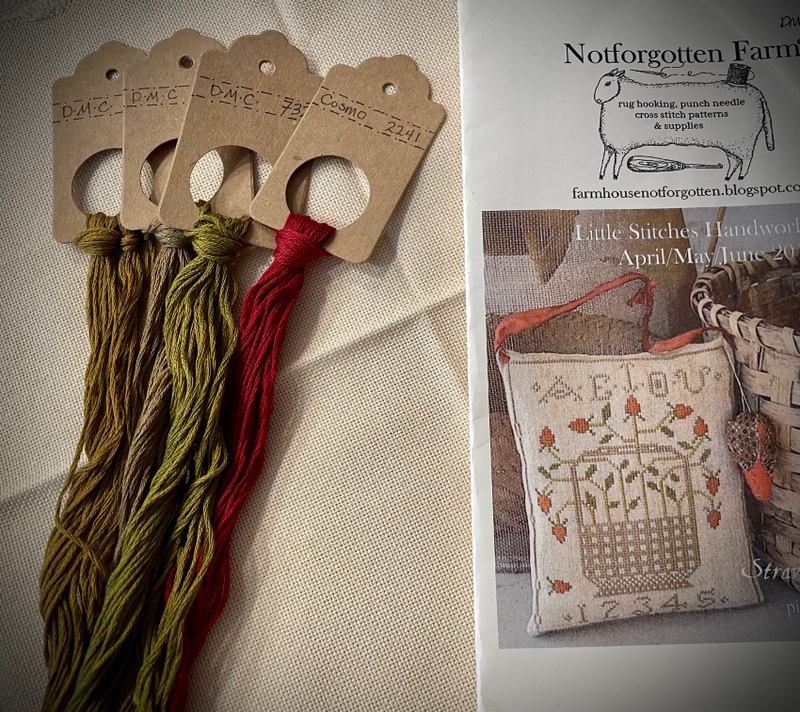
With that one checked off the list this one has been started and is almost done already, 
I'm working on border now.
"School Colors" is now a full-fledged flimsy (60" X 75"). 
Backing has been chosen, it's waiting its turn.
Inspired by this photograph that I found on Instagram...
...these Kaleidoscope blocks are my latest obsession, wedges are taking over!! Those dark blocks on the bottom of the design wall were pieced over 30 years ago. I dug them out and set them together, it is destined to become a table topper. Back then I must've made a wedge-shaped template and traced around it as the seam allowances are drawn in pencil on the wrong sides. Now, I am using Studio 180's Wedge Star Tool to make my scrappy version. I found that I could make 7" finished blocks working solely from my saved precut 4.5" square scrap bins; using them up on this project brings sheer joy. My goal (as long as the scraps hold out) is to piece a top measuring 56" X 63"; an ample-sized lap quilt. I've been pretty driven lately, making to-do lists and sticking to the tasks at hand, staying busy is helpful.
Last, but not least, "Tumbling Squirrels" is under the quilting needle at present, a few more passes and this, too, will be in need of binding. My conversations with Mom will continue. I'll talk to her about my latest idea and I know that she's smiling. From my earliest years I can remember my mother always making something; she decorated cakes for a period of time. She did folk-art painting and was a master of decoupage. She loved crafting all sorts of things from wood when she wasn't sewing. Handmade meant heart-made, she'd leave her mark on items that she'd created: her initials and the year hand-penned within a heart shape. 💗
"What are you working on?"
Life is Good!

06 September, 2021

Heading For the Border(s)

My late summer obsession has been pulling out all of those accumulated blocks-of-the-month from years past and setting them together. I got a border on this one (L) just this past week. A sweet off-white marbled fabric was special ordered (with fingers crossed) to border up and surround these six year old blocks and rein them in, success(!); it blended perfectly with the background fabric from 2015! One more to the full-flimsy stage!  The next ones out of the closet and onto the wall, a week or so ago, were these blue and white blocks; from an "I can't remember", long-ago year! I did the same blocks in red and white too, and have finished those up a few years back. I could see that I needed four more blocks here to be able to complete this into a square table topper. I'll turn my attention to that sometime soon; but, in the meantime, I had packing to get done and a retreat to attend!
And we were off, toward another border or two (or three); to a quilt retreat house in Ohio.
The accommodations were warm and welcoming. I've never slept better on a retreat.
Our individual work spaces were spacious and comfortable; the lighting was fabulous! 
We had a great, fully-equipped kitchen right off that same open space for easy meal preparation.
Check out this built in ironing space- with a window! 🙂
This was the view that I had, out the back window, from my sewing table.
And, we were treated to parachuters, compliments of the Sky Diving School behind the retreat house!

A couple of us stepped it up on the last night to complete quilt tops to bring back home. The Snowflake in flannels will bring some warm snuggle time when the snow flies. I stitched this offset coin quilt.
A parting shot before we packed it all up and headed back home again, full of inspiration and happy  memories.
Since returning home I've applied yet one more border! 
This detail shot is more representative of the colors in these low volume coins; it's sashed and bordered in a chambray blue Essex linen, actually much blue-r than gray, as these photos show. This flimsy measures 63" X 74". I have big ideas for custom quilting this one. And sew it goes...
Today's Labor Day, the official end of summer, it's time for the minds to once again return to back-to-school. The above two offerings are the newest Block-of-the Month programs at my LQS. Have I signed up? Of course I have; and not for one, but for both! Yep, it's back to the classroom for me (X 2)!

Don't let it ever be said that 
I ran out of things to work on!

Life is Good!
  

10 March, 2020

As Ye Sew...

...so shall ye RIP!

Original layout with outer
blocks bordered in brown. 
You might remember, if you've been reading about my progress with the Temecula Quilt Co.'s "Scavenger Hunt" sew-along, that I had two outer borders that didn't fit and that I decided I really didn't like, anyway. I laid everything aside before my trip up to Hampton, VA; deciding to tackle the dismantling of those twenty two blocks when I returned. One of the first vendor booths that I stopped at while visiting MidAtlantic Quilt Festival was Bucklebee Tools and Patterns. They were demo-ing the "razor ripper"; I stood in line to buy one right then and there!*
The demonstration was compelling (hence, the long lines to purchase!); folding flat the seam to be removed (see photo above, left) and placing the ripping tool at the top of the seam, holding firmly, one draws steadily downward and the tool smoothly removes the stitches (it feels almost like pulling down on a zipper). The photo directly above is from their website. They sell the razor rippers separately, or combined with this clever silicone-tipped wooden stiletto which effectively "erases" away the thread bits from the newly released seams. Knowing the job that I had ahead of me, I bought the set and an additional ripper!
I got to the task last week; before long I had made small work of removing the offending triangles and added my new setting triangles right away. This ripping tool** really did work well and I can recommend it highly. Also, that handy-dandy little silicone-tipped tool is perfect for holding back the edges when taking small blocks (like these) to the iron for pressing-- no more singed fingertips!
The newly bordered quilt: this is the final pieced row. 
An, ta-da, here is the finished flimsy, with its scrappy borders 
Those teeny-tiny blocks inside the borders finish to 1", I added multiples for effect.
Quilting has commenced. 

Life is Good!

Up next: Lessons Learned

* I bought the tools because of the awesome demonstration. If I had not seen these demo-ed I would have had NO IDEA what the tools were or how to use them. After that. I did notice them at other booths, at various prices, sitting idly in cups.
** I learned that the original use for these tools was as a "peach fuzz" shaver for ladies and that they come from the cosmetic aisle. Having said that, again-- there are all various prices attached to these tools, I can only vouch for the ones that I actually purchased as noted above. I have no idea if there are different manufacturers or varying levels of quality. 


14 June, 2016

Jackstones

"Jackstones" ~ 63" X 73.5"
Jackstones has finally, officially, made it to the "flimsy" stage. Hooray! 

Begun a year ago and promptly back-burnered, it was inspired by this magazine cover from 2013
and this tutorial (pictured below) from the same quiltmaker.
My version, however, is not paper pieced. My wedges are a bit slimmer, I used a 9 degree wedge ruler and, constructing my own template*, stacked my square background pieces and cut them after marking the cutting line, as illustrated below.
I cut the background squares 6.5" and, after inserting the wedges and the subsequent trim down, (below) ended up with blocks cut at 5.75"; sort of a weird size, but it was all an experiment; one that I loved so much that I simply kept going with it as it was!
It hardly made a dent in my low volume stash and, as usual, have been putting together something else as I pieced this one. I have lots to report, stay tuned. In the meantime I am dreaming of how I will quilt up Jackstones to fully show off the pieced alternate border solid color to its advantage.

*If anyone is interested in a printout of the (albeit sketchy) directions including the template I created, let me know and I will email you a copy.
Life is Good!

03 July, 2015

On The Plus Side

"Think Positive!" ~ 46" X 56"


Some things are worth the wait, this flimsy is no exception! I began this small quilt over a year ago. Somewhere along the line I got distracted... who, me?... and simply didn't get back to this until a few weeks ago. With a dedicated spirit I worked on it a few hours every day and finally got the borders on it yesterday. I designed this quilt in EQ7 and posted about it late last May, shortly after that I was contacted by them for permission to include this pattern in their "Do You EQ?" blog, I was flattered. At the time I was looking for a way to showcase my vast collection of low volume prints and this scrappy idea fit the bill. Since then my collection has only grown; but, on the plus side, this one is now a full-fledged flimsy! You can access the pattern here. It's easy, and fun! 
Life is Good!

20 May, 2015

Positivity Is Spreading...

"Think Positive!"  ~  45" X 55"
Almost a year ago I posted about a quilt that I had designed in EQ7. I made up a few blocks and put it away; the project... but not the idea! You can access the block pattern by clicking on the link above.


I pulled it all out again this past Monday and began getting all my "pluses" into rows. I love the look of this... it's cheerful and positive! The cute little blocks measure only five inches square and I have put that Creative Grids Itty-Bitty Eights ruler to good use squaring them up. This new ruler is quickly becoming indispensable to me. I absolutely love the eighth inch markings as well as the non-slip finish, I honestly don't know how I got along without it before. I'm not quite half done with this small quilt, stay tuned for more... it's NOT being reshelved before it's a full-fledged flimsy! Part of the fun with this one is using up some of those accumulated low volume background prints... it was high time to cut into them! Don't worry about my stash becoming depleted, I've hardly made a dent. If you like making blocks on the small side you definitely should check out the ruler... but I'm warning you, making itty-bitties can become addictive!
See what I mean?  
These 2" Cake Stand blocks are piling up; a tiny bit at a time.
They don't take up much space or use up much fabric either;
I'm challenging myself to use up even the smallest of scraps.
Life is Good!