Showing posts with label rulers. Show all posts

05 July, 2017

Successful Binding

I have a few quilts with the binding attached and hand basted into position, they patiently wait for their turn at the finishing hand work. I have already explained my preferred method for attaching binding, but this post is focused on how to precut those binding strips for a smooth and successful application. Before I cut the binding strips I measure all four raw edges, add those numbers together and add another ten inches to the total for good measure. That ten inches allows plenty of room for joining the two binding ends together at the end. Using that final sum I divide that number by 42", the normal width of the selected fabric chosen and set aside for binding. That figure is the number of WOF strips needed to bind the quilt. I cut my binding strips 2.25". Multiplying the number of strips needed by your preferrred cut binding width will reveal how much total fabric you will need for binding. After I cut the proper number of binding strips I do the pre-trimming necessary to make perfect 45 degree joins without dog ears or second guessing where to sew the joining seam.
 I use the Creative Grid Quick Trim and Circle Ruler for perfect results every. single. time!
By aligning the 45 degree angle line of the ruler along the top of the strip and precisely placing the right edge of the strip along the corner line the exposed strip fabric can be trimmed away.

The binding strips can now be joined, RST, in the usual fashion, but without those pesky dog ears they line up neatly and sewing from corner to corner is exactly at the 1/4" seam line.

 I press all of the joins open revealing a perfect seam every time.
Once all of my binding is made and pressed I wrap it around a piece of cardboard to keep it neat and place it together with the quilt top until I am ready to attach it. Sometimes I even make the binding ahead of time and it's ready to go when I am. I hope you'll consider using this ruler the next time you are ready to make binding strips. Binding strips isn't the reason that I bought this ruler, however! I bought it because I saw a flawless mitered napkin edge hem demonstrated using this tool. Have I made the napkins yet? Of course not! But I can when I'm ready, I have the ruler!! 
Life is Good!

16 November, 2016

Give Me Liberty!

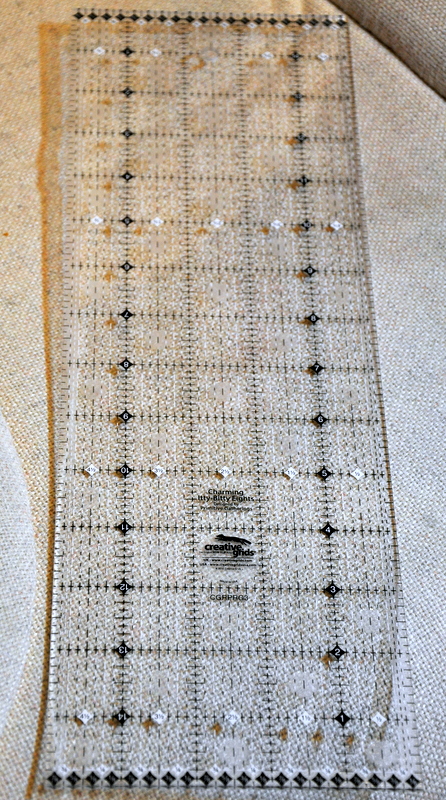
This is the Liberty Lemoyne block; a strip pieced star that is the ninth block in my LQS' block-of-the-month program this year; all of the blocks this time are Lemoyne variations using Deb Tucker's Rapid Fire Lemoyne Star tool. I am in love with this one (both the block and the tool)!  Last week I added a new toy to my ruler collection. I already have one of the Itty-Bitty Eights ruler (6" square) which makes cutting small increments SEW much easier; so, adding this longer strip ruler, marked the same way, was a no-brainer for me. 
This one measures 5" X 15", it's a very handy size to begin with, but the 1/8" markings are clear and easy to read. As with all Creative Grids rulers, this one has the non-slip surface on the back which makes rotary cutting very skinny strips a breeze, it does not move at all when cutting; this ruler has earned its space already in my ruler drawer and I have only used it for this one block so far! The so-called intended purpose of this one is for cutting charms; however, check out its versatility here. I sliced the called-for 1 5/8" strips for Liberty fearlessly using this Charming Itty-Bitty Eights. Take a good look at this one the next time you're in the ruler section of your favorite quilt shop, you'll want one too. As quilters we're only as good as our tools, right?😉

Life is Good!

On this, the sixteenth day of November, I am grateful
for all of the brilliant ruler designers who anticipate
our quilting needs and make our work look so good!